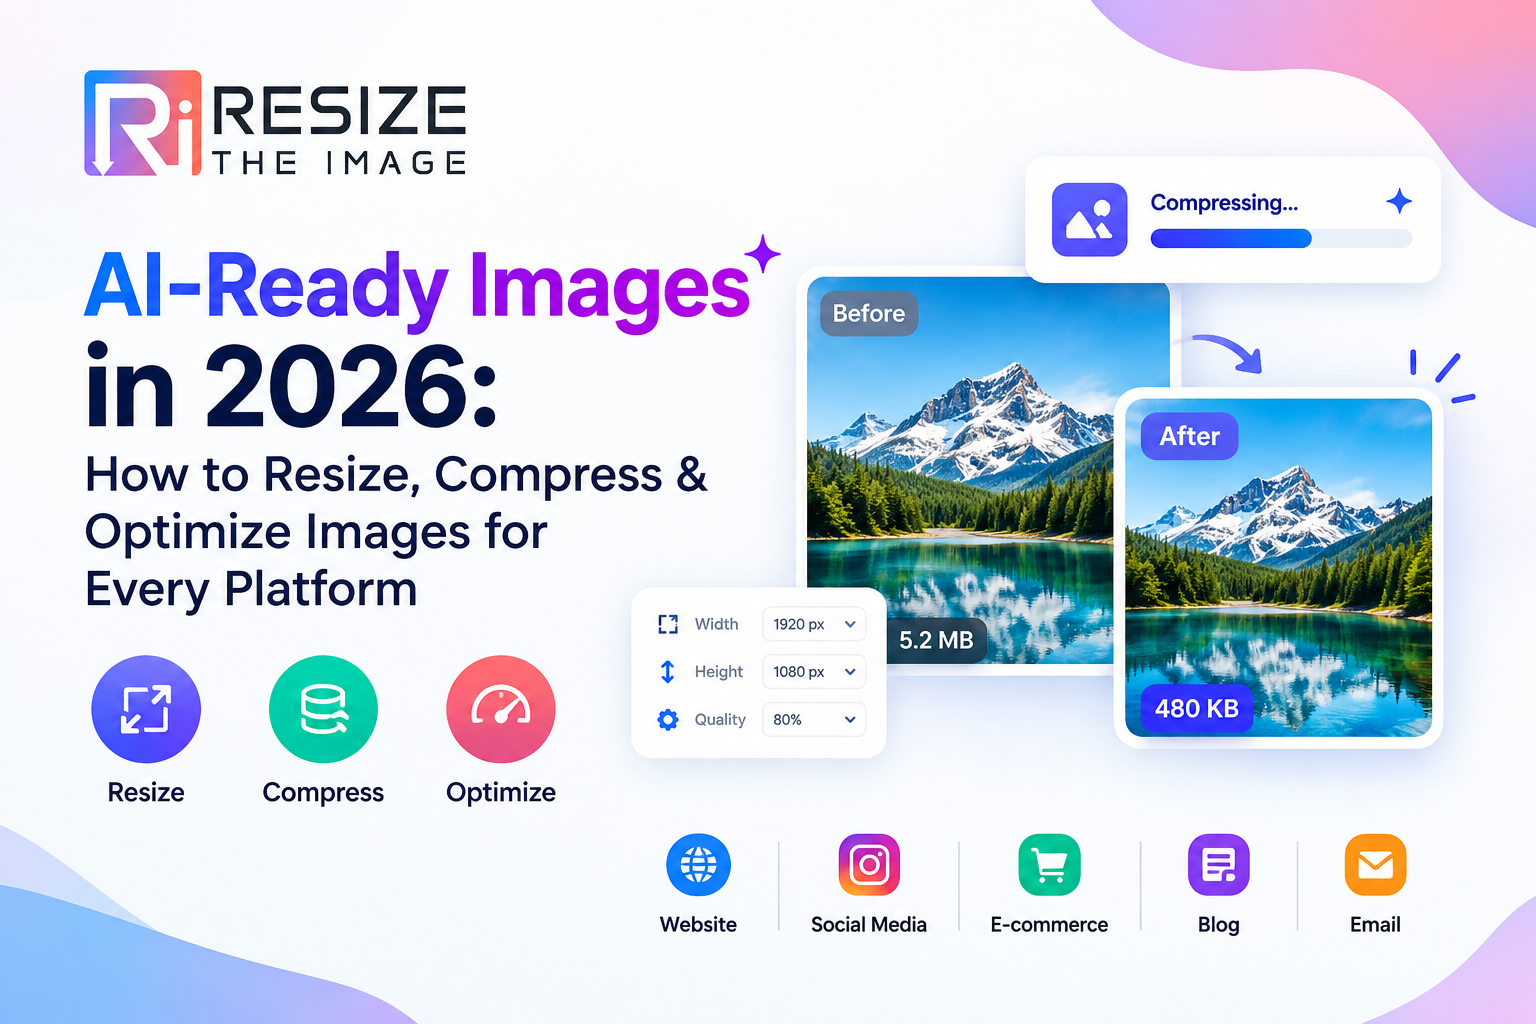
In 2026, images are no longer created for just one screen. The same photograph may appear on a website, Instagram post, LinkedIn update, Pinterest pin, online store, presentation, mobile application, or AI-powered platform.
The problem is that one image size rarely works perfectly everywhere.
A high-resolution photograph may look excellent on a desktop but load slowly on a website. A social media image may be cropped awkwardly when the dimensions are incorrect. A product image may lose important details after excessive compression. And an image that looks perfect in JPG may need to be converted to PNG or WebP for another purpose.
That is why knowing how to resize, compress, crop and convert images correctly has become an important part of digital content creation.
A modern online image resizer can simplify this process by allowing users to adjust dimensions, reduce file size, crop images and convert formats without requiring advanced design software.
What Does It Mean to Resize an Image?
Resizing an image means changing its pixel dimensions, such as reducing an image from 4000 × 3000 pixels to 1200 × 900 pixels.
The goal is usually to make the image fit a specific requirement while maintaining an appropriate aspect ratio and visual quality.
For example, you might need to:
Resize a photo for a website
Create a square profile image
Prepare a social media post
Reduce an image for email
Resize a product photo for an online store
Prepare an image for a presentation
Reduce the dimensions of a large photograph
Resizing is different from simply compressing an image.
Resizing changes the image dimensions. Compression primarily reduces the amount of data stored in the image file.
In many situations, using both together produces the best result.
Why Image Optimization Matters More in 2026
Modern websites and digital platforms are increasingly visual. Large images can consume unnecessary bandwidth and may contribute to slower page loading.
At the same time, users expect high-quality visuals on mobile devices, laptops and high-resolution displays.
This creates a balancing challenge:
Smaller file size + appropriate dimensions + good visual quality.
Instead of uploading a 5000-pixel photograph everywhere, you can create an appropriately sized version for each use case.
For example:
Original image: 6000 × 4000 px
Website version: 1600 × 1067 px
Social media version: platform-specific dimensions
Thumbnail: smaller dimensions
Mobile version: optimized dimensions and file size
This approach can reduce unnecessary image data while keeping the image visually useful.
Resize vs Compress vs Crop: What's the Difference?
These three terms are often confused.
1. Resize
Resizing changes the width and height of an image.
Example:
3000 × 2000 px → 1200 × 800 px
The composition generally remains the same.
2. Compress
Compression reduces the file size.
For example:
4 MB → 800 KB
The pixel dimensions may remain unchanged.
Compression can be useful when a website, email service or application has a file-size limit.
3. Crop
Cropping removes part of the image.
For example, you may convert a landscape photograph into a square image by removing portions from the sides.
Cropping is particularly useful when adapting one image to different aspect ratios.
4. Convert
Conversion changes the image's file format.
For example:
Different formats have different strengths, so choosing the right format depends on how the image will be used.
What Image Size Should You Use for Social Media?
There isn't one universal social media image size.
Different platforms and content types use different aspect ratios and dimensions. That's why manually entering dimensions or using platform-specific presets can be more reliable than simply uploading the original photograph.
For example, a creator may need separate versions for:
Instagram posts
Instagram Stories
LinkedIn posts
Facebook posts
Pinterest pins
YouTube thumbnails
X posts
Website banners
Profile pictures
The important principle is:
Resize according to the destination, not according to the original image.
If you're preparing content for several platforms, create platform-specific versions instead of repeatedly stretching or squeezing the same image.
How to Resize an Image Without Losing Quality
One of the most common questions is:
“How can I resize an image without losing quality?”
The answer depends on whether you are making the image smaller or larger.
Reducing an image's dimensions generally gives you more flexibility because you're removing pixels rather than inventing additional detail.
Enlarging a low-resolution image is more difficult. Increasing the dimensions does not automatically recreate the original detail.
For better results:
Keep the aspect ratio locked
If the original image is 1600 × 1000 pixels, changing it to 1000 × 1000 pixels without cropping can distort the photograph.
Instead, maintain the original aspect ratio or deliberately crop the image.
Choose the right output format
Use JPG when you need a smaller photographic file.
Use PNG when transparency or lossless image quality is important.
Use WebP when you want a modern web-friendly format with efficient compression.
Avoid repeated re-saving
Repeatedly opening and exporting a lossy image can introduce additional compression artifacts.
Whenever possible, keep a high-quality original and create optimized copies for different uses.
JPG, PNG or WebP: Which Format Should You Choose?
Choosing an image format is just as important as choosing the dimensions.
JPG
JPG is widely used for photographs and images containing many colors.
Best for:
Photography
Website images
Blog images
Social media photographs
Product photographs
PNG
PNG supports lossless compression and transparency.
Best for:
Logos
Icons
Graphics
Screenshots
Transparent images
WebP
WebP is a modern image format designed for efficient web delivery.
Best for:
Website images
Blog graphics
Product images
Web interfaces
If your website supports WebP, converting suitable images can be part of a broader image-optimization strategy.
However, format selection should always consider compatibility and the specific requirements of the platform where the image will be used.
How to Resize an Image Online for Free
Using an online image resizer can be much faster than opening professional design software for a simple dimension change.
A typical workflow is:
Step 1: Select your image
Choose the JPG, PNG or WebP image you want to resize.
Step 2: Enter the required dimensions
Specify the desired width and height in pixels.
For example:
1080 × 1350 px
Step 3: Maintain the aspect ratio
If you don't want the photograph to become distorted, keep its original proportions or use an appropriate crop.
Step 4: Preview the result
Check whether important subjects, text or design elements remain visible.
Step 5: Choose the output format
Depending on the use case, select JPG, PNG or WebP.
Step 6: Download the optimized image
Your final image can then be used for your website, social media, presentation or other digital platform.
This browser-based workflow is particularly convenient when you only need to make a quick image adjustment instead of performing advanced photo editing.
Why Exact Image Dimensions Matter
Sometimes “approximately the right size” isn't good enough.
A website may require a specific banner dimension. An application may require a particular icon size. A form may impose a maximum file size. A social platform may display an image according to a particular aspect ratio.
That's where exact image resizing becomes useful.
Instead of saying:
“Make this image smaller.”
You can specify:
Resize this image to 1200 × 630 pixels.
This makes the result predictable.
Exact resizing is especially useful for:
Website banners
Social media graphics
Profile pictures
Product images
Thumbnails
Digital advertisements
Blog featured images
Application assets
Can Image Resizing Improve Website Performance?
It can help when oversized images are unnecessarily large for the way they are displayed.
For example, imagine a website displaying an image at approximately 800 pixels wide while the uploaded source is 5000 pixels wide.
The browser may have to download considerably more image data than the displayed size actually requires.
Creating a properly sized version can reduce unnecessary bytes.
But image optimization isn't only about dimensions.
A good workflow considers:
Dimensions + file format + compression + responsive delivery + appropriate quality.
Modern image optimization therefore means choosing the right image for the right context rather than simply making every image as small as possible.
Why You Shouldn't Resize Every Image to the Same Dimensions
A common mistake is creating one universal image size for an entire website or social media campaign.
Different content has different requirements.
A hero banner might need a wide landscape ratio.
A profile picture may need a square crop.
A mobile story may need a vertical format.
A blog thumbnail may require another ratio.
A product catalogue may benefit from consistent square images.
Therefore, instead of asking:
“What is the best image size?”
Ask:
“What is the best image size for this specific use?”
That simple change in thinking can significantly improve your digital image workflow.
How AI Is Changing Image Workflows in 2026
AI has made image creation faster, but it has also increased the number of images people need to prepare.
A marketer might generate one campaign image and then need:
A website banner
Instagram creative
LinkedIn post
Pinterest graphic
Story format
Advertisement variation
Blog thumbnail
Email image
The challenge is no longer only creating the image.
It is also adapting the image efficiently.
This is where image resizing, cropping, compression and format conversion become important parts of an AI-assisted content workflow.
The most efficient process is increasingly:
Create → Resize → Crop → Optimize → Convert → Publish
Instead of manually rebuilding every graphic from scratch, creators can prepare versions of the same visual for different channels.
Resize Images Faster with Resize The Image
For people who frequently work with digital images, Resize The Image provides a convenient online approach to common image-processing tasks.
Instead of installing desktop software for a simple resizing job, users can use browser-based image tools to prepare images for different digital requirements.
The platform can be useful when you need to:
Resize images
Compress images
Crop images
Convert image formats
Prepare images for different online uses
Reduce image dimensions
Create appropriately sized digital assets
The advantage of using a dedicated online image toolkit is convenience: you can handle common image preparation tasks without needing a full professional editing application.
For users who regularly work with social media content, websites, blogs and digital marketing materials, having resizing and optimization tools available in one place can make repetitive image tasks considerably easier.
Frequently Asked Questions About Image Resizing
What is the easiest way to resize an image online?
The easiest method is to use an online image resizer, upload your image, enter the required dimensions, maintain the appropriate aspect ratio and download the result.
How do I resize an image without stretching it?
Maintain the original aspect ratio when changing dimensions. If the required dimensions have a different aspect ratio, crop the image rather than stretching it.
Is resizing the same as compressing an image?
No. Resizing changes the pixel dimensions, while compression primarily reduces the file size. You can perform both operations when optimizing an image.
What is the best image format for websites?
There is no single format that is best for every situation. JPG is commonly suitable for photographs, PNG is useful for transparency and lossless graphics, and WebP can provide efficient web delivery when supported by the site's workflow.
Can I resize JPG images online?
Yes. Online image resizers commonly support JPG files and allow you to specify new dimensions before downloading the resized image.
Can I resize PNG images without losing transparency?
Yes, provided you use an appropriate PNG workflow and don't convert the image to a format that removes transparency.
What dimensions should I use for social media?
It depends on the platform and content type. Instead of using one universal size, check the requirements for the specific platform and create the image at the appropriate dimensions.
Is a larger image always better quality?
No. A larger file may contain more pixels, but that does not automatically mean it is the best choice. An appropriately sized, well-compressed image can provide excellent visual quality while using less storage and bandwidth.
Should I resize an image before uploading it to a website?
If the original image is significantly larger than the size at which it will be displayed, creating an appropriately sized version can help avoid unnecessary image data.
Can I resize an image on my phone?
Yes. Browser-based image tools can be used from modern smartphones, allowing you to resize images without installing desktop editing software.
Final Thoughts
Images are an essential part of modern digital communication, but bigger doesn't always mean better.
The most effective image workflow is about finding the right balance between dimensions, quality, file size, format and destination.
Whether you're preparing a website image, social media post, product photograph, blog graphic or AI-generated visual, resizing and optimization can help you create assets that are easier to use and better suited to their intended platform.
Instead of uploading the same oversized image everywhere, create versions designed for each purpose.
Resize it. Crop it. Compress it. Convert it. Then publish it.
For quick image preparation without complex editing software, you can use Resize The Image to handle common image-resizing and image-optimization tasks directly online.
The future of digital content isn't just about creating more images.
It's about making every image fit the right place.